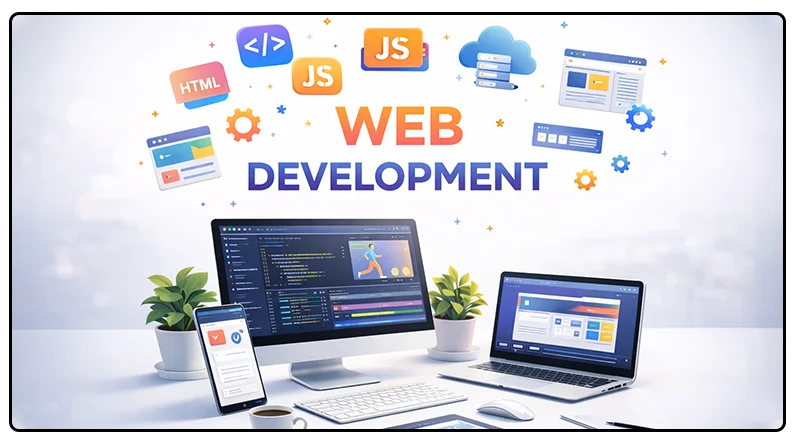
How to Set Up a Developer Environment?
When most beginners start learning web development, the first roadblock is not coding; it’s setting up the development environment.
What should be installed first?
Which tools are actually required?
Why does the code work in tutorials but not on your laptop?
A properly set up development environment removes that friction and makes learning faster, cleaner, and far less confusing.
In this blog, I will guide you through setting up a development environment step by step, highlighting the essential tools you truly need.
What is a Development Environment?
A development environment is the setup on your laptop or PC where you write, run, and test code.
Think of it like this:
If a mechanic needs tools, a garage, and a test drive area, a developer needs a code editor, browser terminal, and supporting software. All of this together is called a dev environment.
In practical terms, a development environment usually includes:
A place to write code (code editor)
A way to run or preview that code (browser or local server)
Tools that help manage files, commands, and dependencies
As a beginner, you don’t need a complex setup. You just need a clean, stable dev environment that lets you focus on learning web development, not fighting your system.
Things You Need Before Setting Up a Dev Environment
Before you start installing tools and software, it’s important to get the basics right. Many beginners face issues not because they chose the wrong tools, but because their system expectations don’t match reality. Let’s clear that first
Hardware Basics (Laptop / PC)
You don’t need an expensive or “gaming-level” laptop to set up a development environment. Here’s a quick setup that works well:
Minimum RAM: 8GB (you will feel the lag in anything less)
Processor: Any modern Intel i3/Ryzen 3 or above
Storage: At least 100 GB free disk space (SSDs are recommended)
OS: Windows, macOS, or Linux
Internet and Storage Realities
This is a very real pain point for beginners.
You do not need high-speed internet at all times. But you will need it during software downloads, updates, and watching tutorials or documentation.
Keep at least 20-30 GB free even after installations. Low storage causes random errors that are hard to debug.
Install tools one-by-one. Don’t download everything in one go. It reduces errors and makes troubleshooting easier.
Choosing the Right Operating System for Deployment
One of the most common beginner doubts I hear is “Which OS is better for setting up a dev environment?” The honest answer is the one you already have. Let’s break it down simply, from a beginner’s point of view.
Windows
Most beginners in India start on Windows, and that’s completely fine
Works well for front-end and back-end development
Huge community support and tutorials
With tools like WSL, Windows has become much more developer-friendly
macOS
Very smooth developer experience out of the box
Terminal and package managers work cleanly
Commonly used in professional dev environments
Great option if you already own a Mac, but not worth buying just to learn coding
Linux
Lightweight and powerful
Excellent for understanding how servers work
Can feel intimidating for beginners
Linux is suitable after you are comfortable with basic development concepts
Bottom Line: Stick to the OS you already have. A well-set-up development environment matters more than the OS itself.
Essential Software for Every Developer Environment
This is where most beginners either overinstall or miss the basics. A clean development environment setup doesn’t need 20 tools; it needs the right ones.
Code Editor
Your code editor is your primary workspace. For beginners, VS Code is more than enough, and it scales well from beginner to professional level. You need a code editor with:
Lightweight architecture
Syntax highlighting
Extensions support
Fast startup
Install the editor first and don’t install extensions immediately. Learn the basics, then add tools as you understand the need.
Browser (Where You Test The Code)
A browser is not just for browsing; it also functions as a development tool. Chrome and Firefox are the most beginner-friendly. Their dev tools help you debug HTML, CSS, and JavaScript without extra software. Look for:
Strong developer tools
Console access
Network inspection
Package Managers
A package manager helps you install and manage libraries and tools. For web development, this usually means:
Managing JavaScript libraries
Running local servers
Handling project dependencies
You don’t need to understand everything on day one. Just know that package managers help save time, reduce manual setup, and keep projects organized. Once your dev environment has this set up, adding tools becomes much easier.
Terminal Basics
The terminal scares many beginners unnecessarily. You don’t need to memorize commands; you only need to navigate folders, run basic setup commands, and start/stop local servers.
Think of the terminal as a remote control for your development environment. You will use it slowly at first, then naturally. My advice for beginners is to stop avoiding the terminal. Use it a little every day to get comfortable with it.
Setting Up Your First Dev Environment: Step-by-Step Guide
Now let’s actually set up a dev environment in a clean, beginner-friendly way. No shortcuts, no overengineering.
Step 1: Create a Proper Folder Structure
Before installing anything fancy, organize your workspace. Use this simple structure:
A main folder like “Web Development.”
Inside it, folders like “projects,” “practice,” and “notes.”
This matters because it helps you organize your files and avoid confusion later. This small habit alone makes your development environment setup feel professional.
Step 2: Understanding PATH and Environment Variables
This sounds scary, but here’s a simplified version.
When you install a tool, your system needs to know where it is so it can run it from anywhere. That’s what PATH does. Most beginner issues come from broken PATH settings caused by rushed installs. Just remember:
Use official installers
Don’t skip default settings
Avoid random YouTube ‘fix’ commands
Step 3: Verifying Your Setup
Never assume things are installed correctly. Always verify:
- <